
Product information
Explore filing from setup to delivery
Use the product tour to understand each filing step and inspect examples of the workspace.
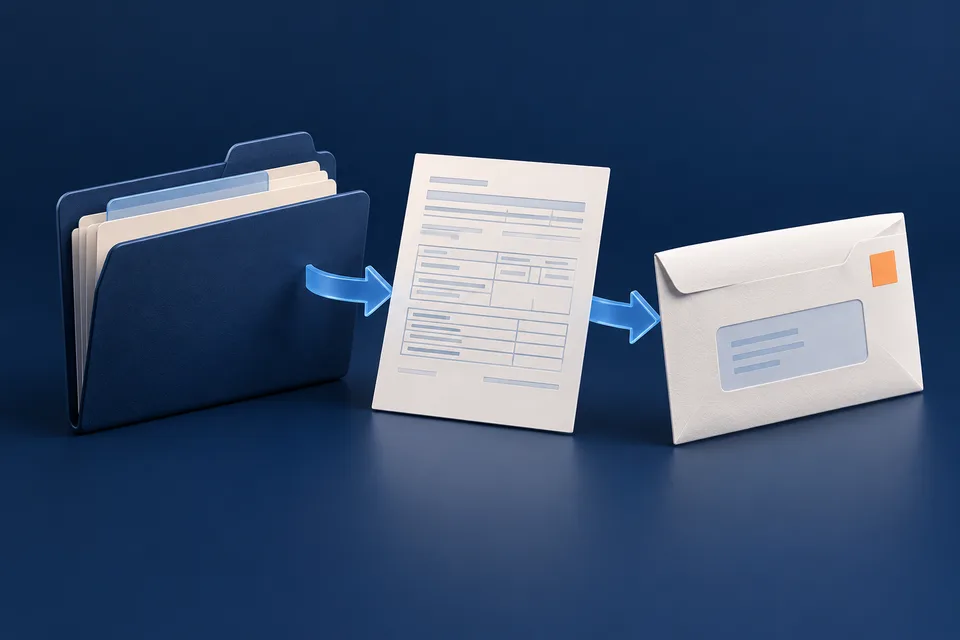
In this guide
Ready for your own workspace?
The account guide explains signup and verification.
Before you start
No account needed
Read the tour before creating your filing workspace.
Example screens
Screenshots may show another form or year. Use your own when preparing records.
Processing starts in your account
Reading the tour does not submit forms. Release an order when you are ready.
View all setup requirements
- You can read the tour without an account.
- Screenshots are examples of the workspace and may show another form or filing year. Use your own form and filing year when preparing records.
- Reading the tour or enlarging a screenshot does not submit a form. Release your order inside your account when you are ready to begin processing.
Choose how to explore
Follow the filing process or focus on the part of the tour you need.
Start the walkthrough
Open the tour and select See the steps.
Learn the preparation steps
Read account setup, business details, and recipient preparation.
- Account
- Create a workspace or log in to an existing account.
- Business
- Add the filer and choose its filing year.
- Recipients
- Import or enter recipients and form details.
Understand review and validation
Review the form-checking and optional TIN Matching guidance.
Learn release and tracking
Read File & deliver to understand when you release the order, then Track to learn how to follow progress.
- File and deliver
- Review services and the total, then release the order.
- Track
- Follow processing, IRS status, delivery and downloads.
Start your own account
Select Start Filing Now to begin in your own account.
You know how to prepare your 1099s, release an order, and follow filing and delivery.
Page details and controls
Your 1099s, from start to filed
Start Filing Now opens registration. See the steps starts the walkthrough; the numbered navigation jumps to any of the six steps.
1. Create your account
Sign up for a filing workspace, or use Log in if you already have an account.
2. Add your business
Create a filer for the person or business whose forms you are preparing. Choose the filing year and enter the legal name, Tax ID, and address.
3. Add your recipients
Import records or enter recipients directly. Recipients are the people or businesses you paid. Choose your 1099 form and add names, Tax IDs, addresses, and payment amounts.
4. Review your forms
Resolve validation issues and preview recipient PDFs. TIN Matching is an optional check of recipient names and Tax IDs.
5. File and deliver
Review filing and recipient-delivery services, add optional Print & Mail if needed, check the total, then release the order to begin processing.
6. Track progress
Follow order processing, IRS filing status, recipient delivery, and downloads from the dashboard.
Explore the screenshots
Enlarge dashboard, filer, recipient, and PDF examples with Expand view. Zoom in and scroll for detail; Fit to screen restores the full image. Close screenshot, Escape, or the background returns to the tour. The order-release illustration opens the full dashboard.
Ready to file your 1099s?
Start Filing Now opens registration, View Pricing opens pricing, and Talk to our team opens Support.
Actions and controls
- Select Start Filing Now or Create an account to register, or Log in to use an existing account.
- Select See the steps to begin, or Account, Business, Recipients, Review, File & deliver, or Track to jump to a specific step.
- Select a screenshot or Expand view to inspect it. Use Zoom in to see details and scroll, or Fit to screen to see the complete image.
- Close screenshot, press Escape, or click outside the viewer to return to your place in the tour.
- Use Excel & CSV, QuickBooks, Xero, or Explore import options to learn how to bring in your records.
- Select About TIN Matching to learn about this optional review service.
- Use View Pricing to review costs or Talk to our team for help.
If you get stuck
The screenshot is too small to read.
Select Expand view, then Zoom in. Scroll within the viewer, or select Fit to screen to restore the full image.
The screenshot shows a different form or year.
Use it to understand the workspace layout. Select the correct form and filing year in your own account.
I have prepared forms but have not submitted them.
Follow File & deliver: review services and the total, then release your order inside your account to start processing.
More troubleshooting (1)
I cannot see a screenshot.
Refresh the page. The step instructions remain available; use Talk to our team if you need help.