
Product information
Import from Zoho Books
Connect the correct data center and organization, map your accounts, then review supported paid vendor activity in E-File Magic.
In this guide
Continue in your account
Find the connection, mapping and result-review controls in the workspace import guide.
Before you start
Know your data center
Authorize Zoho Books where your account is hosted.
Choose a USD organization
The import does not convert accounting currencies.
Choose the filing year
Map to supported annual 1099-NEC and 1099-MISC boxes.
View all setup requirements
- Read this public page without an account. Perform connections, uploads, mapping, and import launches inside your signed-in workspace.
- The workflow panels explain the process and do not accept your data here. Importing and releasing a filing order are separate steps.
Connect the right source and import
Follow the Zoho Books setup or compare another import route.
Open the workflow explanation
Select See how it works.
Authorize in your Zoho data center
Connect in your data center: Select the Zoho data center for your account and authorize the connection through Zoho Books.
The connection remains associated with the data center you authorize.
Select the organization and filing year
Select a USD organization: Choose the organization and filing year. The connection stays associated with its authorized data center.
Map chart accounts and choose a filer
Map and choose a filer: Map chart accounts to form boxes, review the threshold, and select or create a destination filer.
Review your setup and launch
Review and launch: Confirm your source, year, settings, and destination. Launch the import, then follow progress and review the results.
- Confirm the connected data center and organization.
- Check the filing year and account-to-form mappings.
- Review the settings and destination filer before launching.
Review the resulting records before preparing and releasing a filing order.
You understand the setup, review, and launch steps to follow in your account.
Page details and controls
Zoho Books Integration
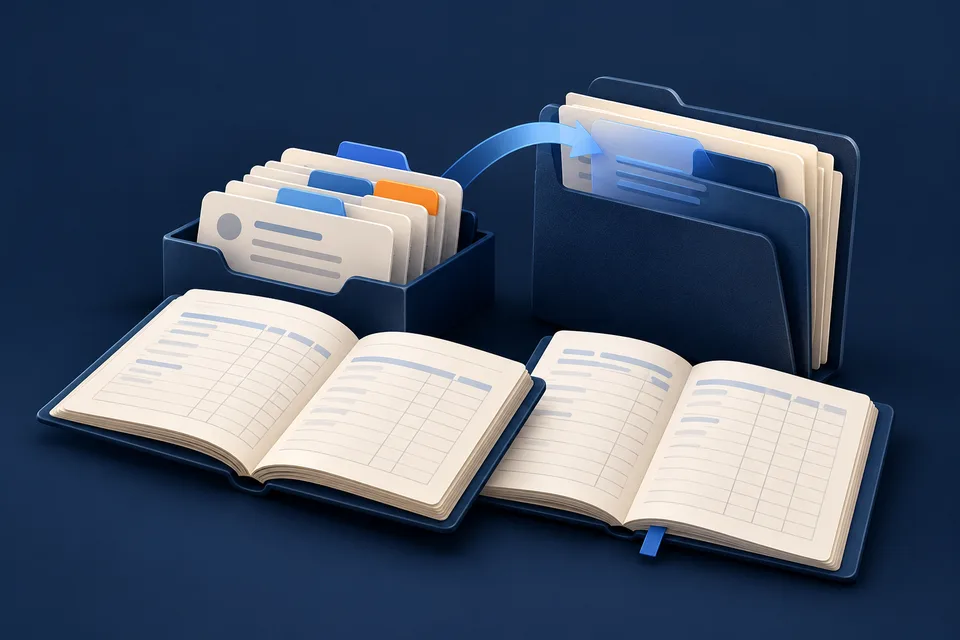
Connect your Zoho Books organization, map chart accounts, and turn supported paid vendor activity into 1099-NEC and 1099-MISC records. Start Filing Now opens registration; See how it works jumps to the import workflow. The illustration connects a selected organization to accounting records, with Choose organization, Map accounts, and Review & import shown below.
Built around the books you already keep.
Authorize Zoho Books in your data center, then select the accessible USD organization you want to import. Select chart accounts and connect them to supported annual 1099-NEC and 1099-MISC form boxes. Follow import progress, check outcomes and issues, then review recipient details and form amounts in E-File Magic.
From Zoho Books to working records.
Authorize your data center
Connect in your data center: Select the Zoho data center for your account and authorize the connection through Zoho Books.
Select organization and year
Select a USD organization: Choose the organization and filing year. The connection stays associated with its authorized data center.
Map and choose a filer
Map and choose a filer: Map chart accounts to form boxes, review the threshold, and select or create a destination filer.
Launch and review
Review and launch: Confirm your source, year, settings, and destination. Launch the import, then follow progress and review the results. The selected organization must use USD. This import does not convert accounting currencies.
The right organization. The right filing year.
Keep the source of your records clear. Check the connected data center, organization, and account mappings before bringing paid activity into E-File Magic. Import from your selected source, then prepare and release your filing order separately.
Guides & answers
Use Recommended reading to open the featured blog guide and two knowledge-base articles selected for this page. Expand Zoho Books FAQs for quick answers; follow an article link inside an answer for more detail. Browse the knowledge base opens the full help library, Explore more guides opens the blog, and Talk to Support opens Support. The first question starts open. Each question opens and closes independently with a click or Enter/Space. Related service or import links below the section remain available where shown.
Connect your books to your next filing.
Start Filing Now opens registration. Talk to Support opens the support page.
Actions and controls
- Use Start Filing Now to open account registration or See how it works to jump to the four-step workflow.
- Read the source-specific setup, supported activity, and review guidance.
- Select any common question to open or close its answer; keyboard users can press Enter or Space.
- Use Advanced Spreadsheet & CSV, Multi-Filer Import to explore related import paths.
- Use Talk to Support for help with your import.
- Use Email support or call 1-877-836-6680 for help choosing an import method. Explore our security opens the security overview.
- When the setup notice is shown on a wider screen, View setup jumps to the workflow steps.
- Explore curated blog and knowledge-base articles alongside questions about Zoho Books.
If you get stuck
I cannot upload or connect on this page.
Select Start Filing Now to register, or use Log In in the site header. Complete the import setup in your workspace.
I need to understand what this source includes.
Read the setup and review sections, then open the common questions. Contact support if your records do not fit the described workflow.
An answer is hidden.
Select its question, or Tab to it and press Enter or Space.